

“This is a curate long-list of 20+ Best Practises for Dockerfile for the Year 2020”.
Since the inception of Docker on 20th March 2013, it has already taken the world by storm, by revolutionizing the way how easily applications can be packaged and delivered across multiple platforms with ease. All though containers existed, even before the Docker era, what made Docker stand out of the crowd and making it globally famed was the fact that, it easily bootstrap most of the underlying complexity involved with containers in general, making it fairly available on all the major operating systems & platforms with power of open-source community always backed for better support.
Docker has always been my personal favourite in terms of the technology shift that has happened in recent years. From the transition of the bare-metal machines to Virtual-Machines in most respect. Similarly, Docker is replacing Virtual Machines with containers for all good reasons. Docker, in a nutshell, contains some basic components involved which start off with a simple Dockerfile which is a plain-text file where we write the (code) which contains a straightforward set of steps or instructions which define what needs to be done in simple terms and what you want your application to contain and how it would run. After writing the Docker file we build an image out of it (consider this as executable) which gets created after compiling some code (Dockerfile). After the image is built we need to launch that image. Launching an Image creates a container which is a running instance of the image, which is similar to launching an executable which is running instance of the executable.
CHOOSE MINIMAL BASE IMAGES
Every custom image that we build in docker needs to be built on top of an existing base image, we need to cherrypick and select images that are more minimal & compact. There are various flavours available which offer light-weight images. These include Alpine, Busybox and other distribution-specific images like Debian, Ubuntu, CentOS which have -slim *or *-minimal version of them to choose from.
While choosing a base image, it does need to be a perfect mix of choosing the image which offers the needed support, tools and binaries along with being lightweight. As some time you might also come across issues where choosing a lightweight image involves a trade-off with compatibility with the application and not having the needed dependencies or libraries need to run the application.
REMOVE CACHE PACKAGES
For our application to run inside of a container it often requires a runtime environment, dependencies & binaries. While trying to install packages from package-manager such as (apt, apk, yum), it often first downloads the packages from the remote source-repositories on to the local machine and then installs the package. After installing packages, often at times cache package files that were downloaded get stored and consume additional unnecessary space. The best recommendation is to remove these cached/package files after the package is installed, this further optimizes the docker image.
Depending on the type of the image which is used there are different package managers which have default locations where the package-managers cache is been stored, some of which are listed below.
•
Image/Distro: Debian / Ubuntu
•
Package Manager: apt
•
Location of the Cache: /var/cache/apt/archives
•
Image/Distro: Alpine
•
Package Manager: apk
•
Location of the Cache: /var/cache/apk
•
Image/Distro: centos
•
Package Manager: yum
•
Location of the Cache: /var/cache/
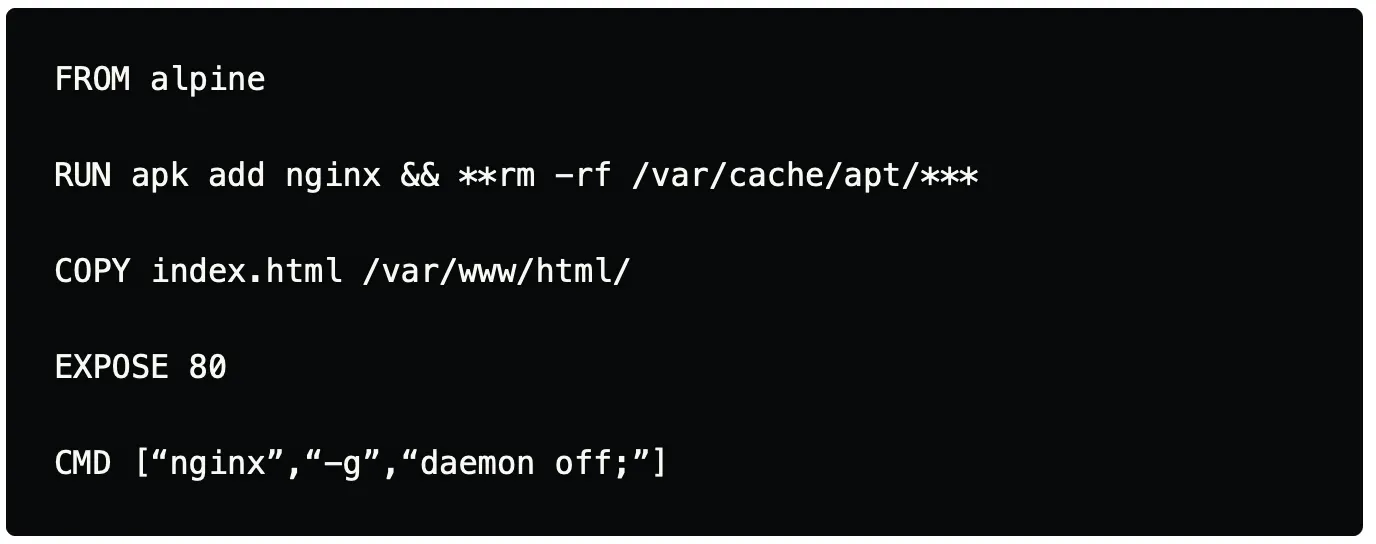
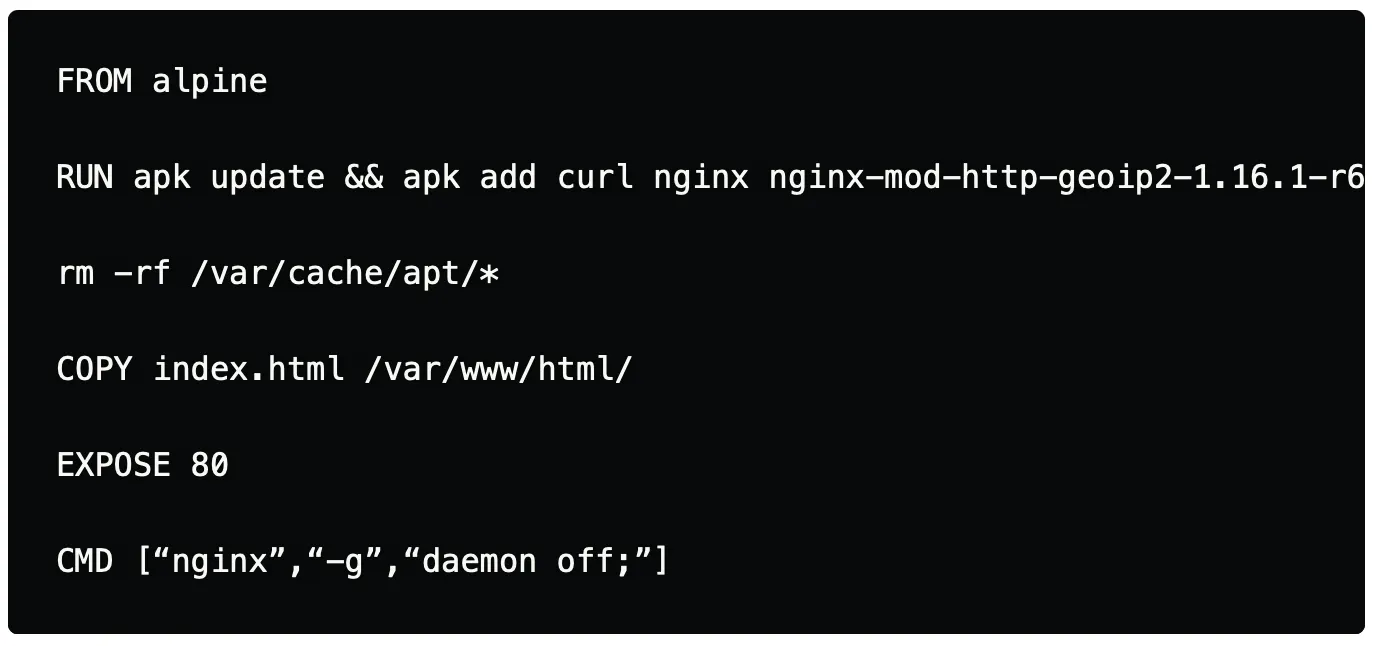
In the example below, we will be installing Nginx webserver to server static HTML webpages. As we install the Nginx package alongside we will also remove the cache packages that have been stored in the specific path of the cache directory. In this case, as we are using alpine we have specified the directory which contains the cache for the packages.
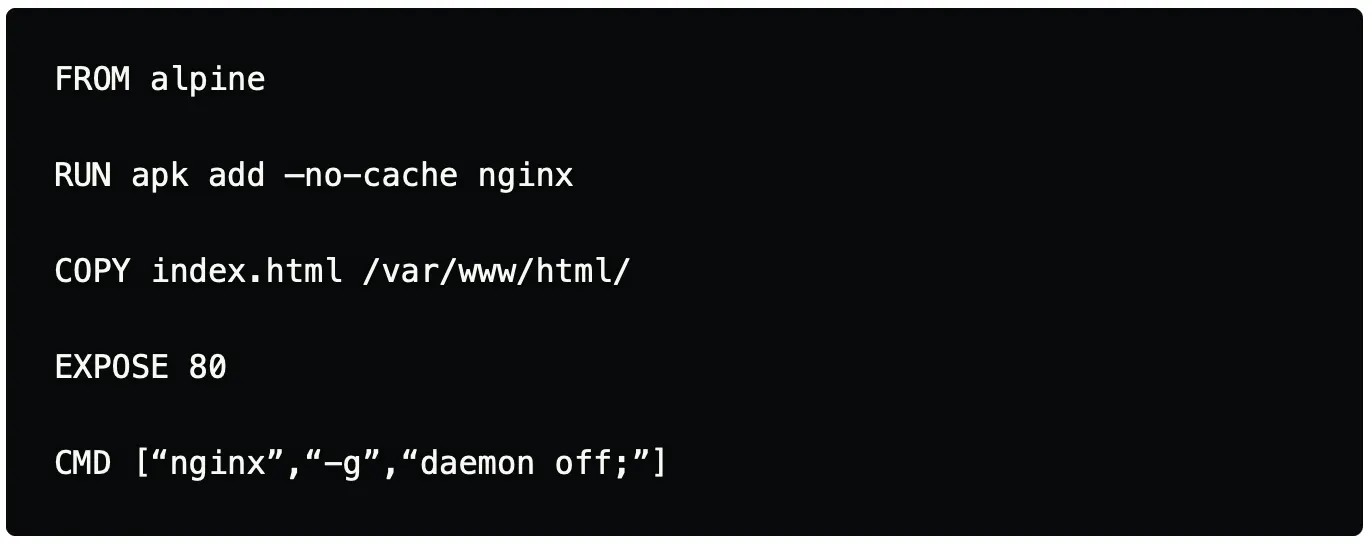
An alternative to the above solution in the case of alpine is to use –no-cache which ensures that no cache is stored for the package that would be installed, which removes the additional need of deleting the packages manually.
AVOID MULTIPLE LAYERS

Wow! this burger is an eye-candy with these extra layers of patty & cheese, which makes it really yummy & heavy. Docker images are similar to this burger with each extra layer which gets added to the Dockerfile file while building the image it makes it more heavier. It’s always recommended to make sure to keep the number of layers as low as possible.
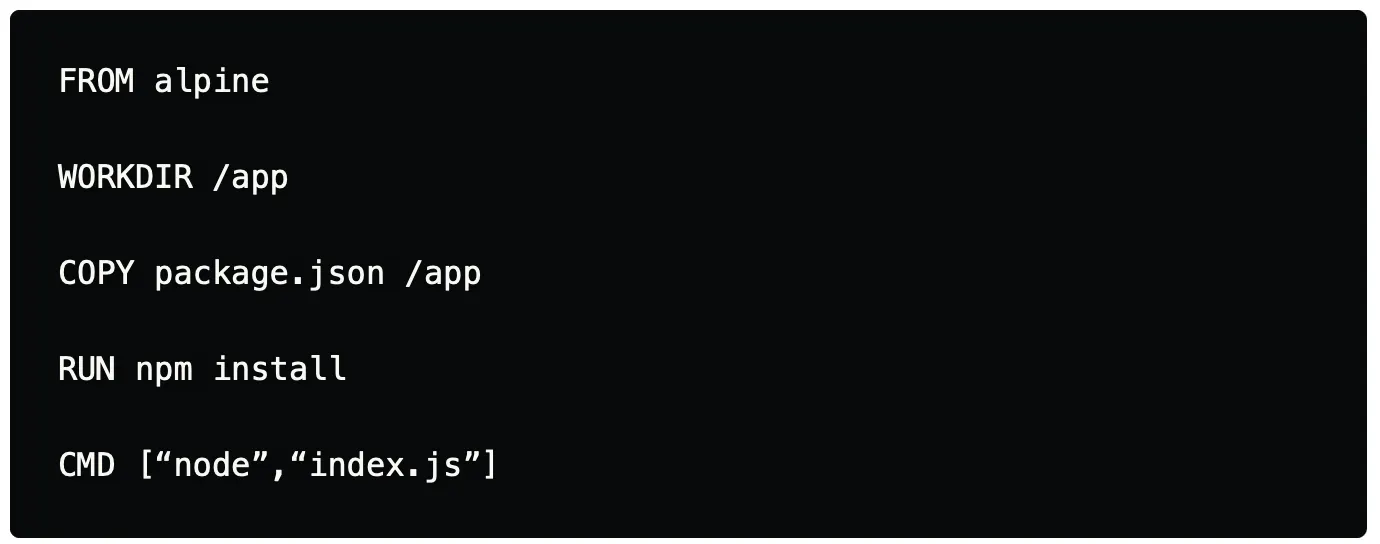
Below is a Dockerfile that contains instruction where we install Nginx along with other utilities that are needed. In the case of Dockerfile, each new line of instruction forms a separate layer.
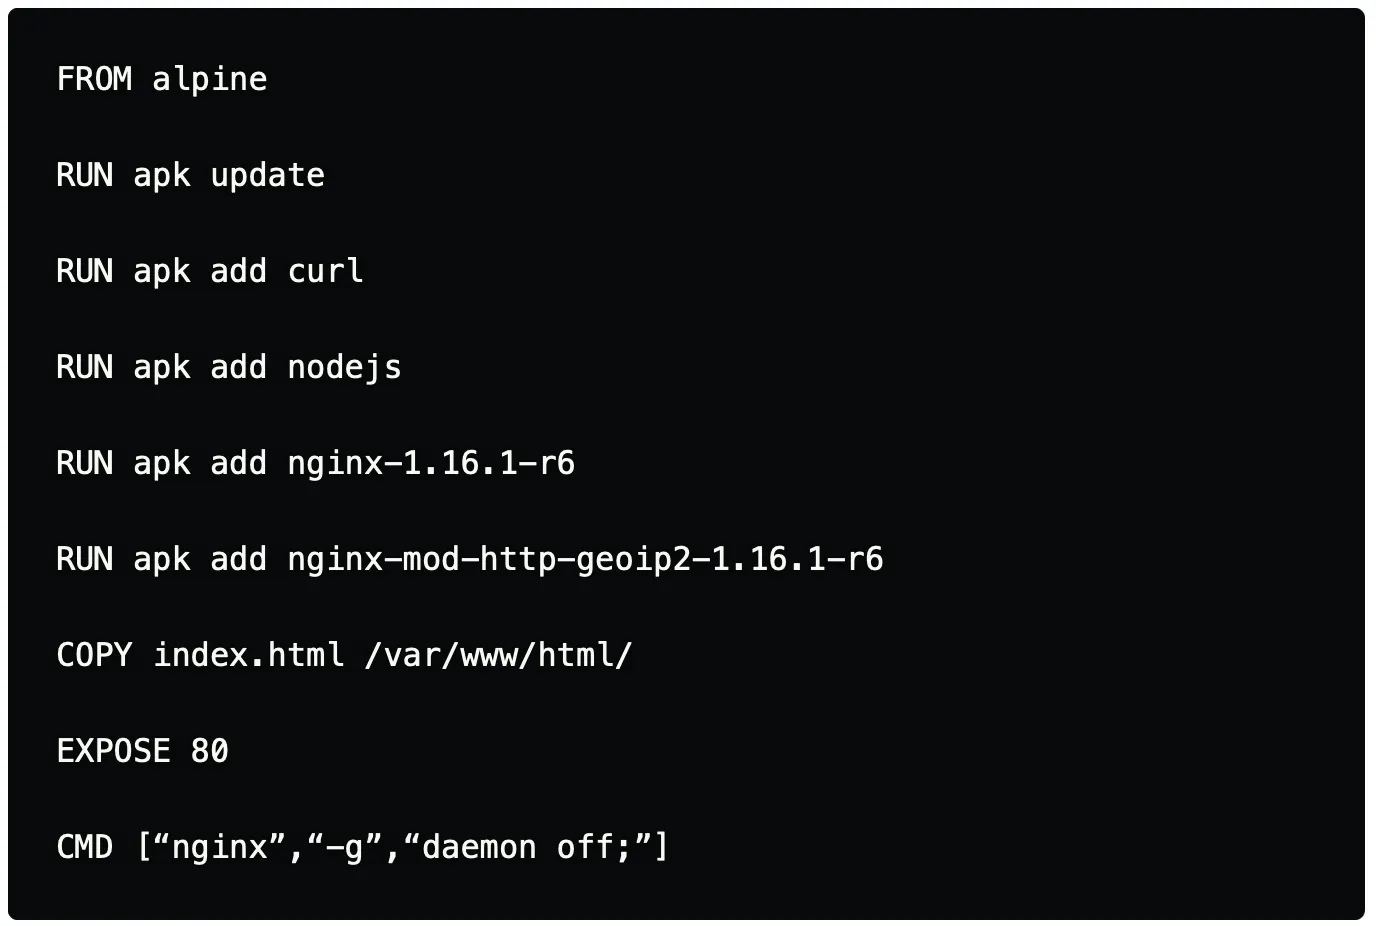
Above Dockerfile can be optimized with the help of chaining and effectively using && and where ever needed to reduce the number of layers created for the Dockerfile.
With the help of chaining, we have clubbed most of the layers and avoided creating multiple layers which overall helps to optimize the Dockerfile to make the burger look even more Yummy.
DON'T IGNORE .DOCKERIGNORE
.dockerignore as the name suggests, is a quick and easy way to ignore the files that shouldn’t be apart of the Docker image. Similar to the .gitignore file which ignores the files from being tracked under version control. Before going further any further, let’s understand build-context. While building a Dockerfile all files/ folders in the current working directory are copied & used as the build context. The tradeoff here is that if the current working directory from where we are building the Dockerfile contains Gigabytes of data, in that case, it often increases the unnecessary build time, well that’s a problem, does that mean we have to move the Gigabytes of data to separate directory while building Dockerfile, Naah!!, but then how do we solve this?
.dockerignore to your rescue, it can be used for a couple of use-cases some of which I have been mentioned below:


